I will be announcing our September winners shortly but first I would like to introduce you to our October Tips, Tricks and Techniques brought to you by team member Kat Gray.
Beyond
the Page mini album by Kat Gray
I
love making mini albums to document special events, such as birthdays or
weddings. The roses from the inspirational image reminded me of the flowers from
my sister’s recent wedding so I made a mini album about the day. I used papers
and embellishments from the Crate Paper Bloom collections, which has lots of
lovely vintage and floral elements and lots of pretty pink papers.
Choose an album and a
set of papers big enough to cover the pages (my album was a little bigger than
6” so I used a 12x12” paper pad but you could also use a smaller album and a 6”
paper pad).
Use a piece of fine
sandpaper to lightly sand the surfaces and dust with a dry cloth.
Add a couple of coats
of gesso and acrylic paint to the surfaces that won’t be covered by the paper,
including the outside edges and around the holes. I use empty thread spools as
stands when drying the pages.
When the pages are
ready to be covered with paper, prepare the paper by punching a set of holes
that line up with the holes in the album page. I usually lay the page against
the back of the paper and use a pencil to mark where the holes are.
Apply adhesive (e.g.
PVA glue or Mod Podge) to the album page being sure to cover the entire surface,
especially at the edges and corners. This is important for preventing the papers
from peeling away from the album at a later date. Press the paper firmly over
the top, cover with a heavy book and allow to dry completely.
Once the glue has
completely dried, use a sharp craft knife to trim the paper around the edges of
the album page.
Repeat step 5 and 6 for
the other side of the page.

Once paper has been
added to both sides of each page, add a couple of coats of a paper sealer (e.g.
Mod Podge), being sure to cover the edges. This will also help prevent the
papers from coming away from the album at a later date. Let dry completely.
Decorate your pages. I
used more patterned paper, doilies, organza, paper flowers, chipboard stickers
and the pins from my sister’s bouquet.
Use album rings to join
your finished pages into an album.
Decorate the album rings
using different trim such as tassels, beads and ribbon.
Here's
a few more pictures of my finished album.
Oh my goodness - how stunning is this? Just so beautiful. Thank you Kat!!
...... and now onto our September winners .....
Mei-Chen Lo is our winner of the prize pack from Kaisercraft. We all just loved your page Mei-Chen, just fantastic!
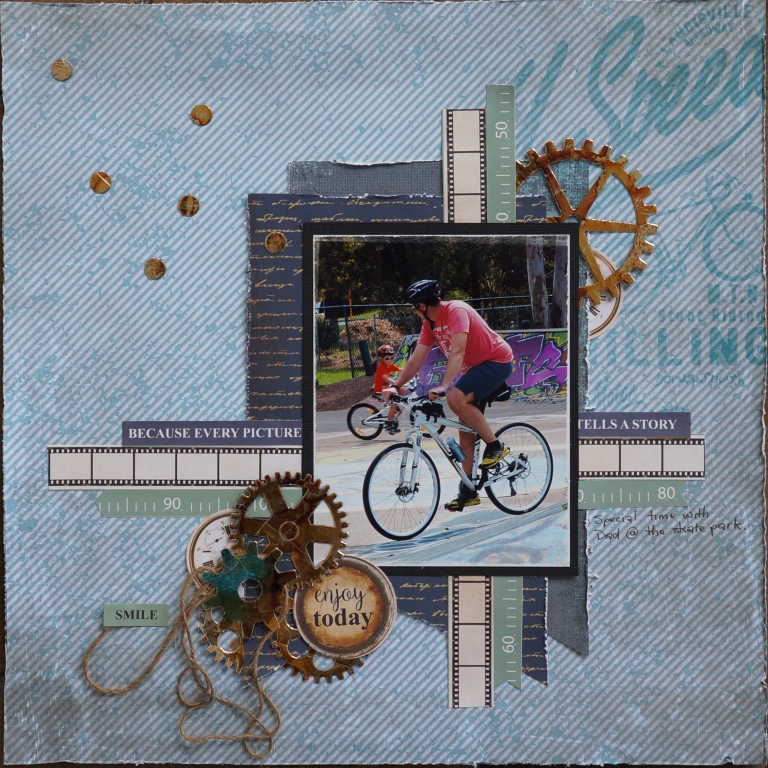
Judy W is our winner of the prize pack from Mystical Scrapbooks with this wonderful male focused page - great work Judy!

Our random draw winner of a lovely prize donated by Karen McLaughlin goes to Chrissy with her delightful page - that background rocked!!
Could the winners please contact me on jjjustjane@bigpond.com with their postal details. You have until the announcement of the winners for next month to do so. Don't forget to grab our winners badge from the sidebar.
Our Creative Team highlight from last month is Helene. She will receive a little surprise something from me.

Don't forget to enter this month's ARTastic challenge. All the details are in the left sidebar. Remember you have until the end of the month to submit your entry.


Fabulous!!! LOOOVE that mini booklet....looks amazing & congrats to all our well deserved winners....gorgeous pages:):)
ReplyDeleteCongrats to the winners and gorgeous mini album
ReplyDeleteMary
Thank you for choosing my entry. Congrats to the other winners and Kat for her fabulous mini album
ReplyDeleteThank you for choosing my layout. I am so honored. Congrats to all winners and beautiful mini album.
ReplyDeleteMei-Chen :)